.png)
When your child suddenly grabs their jaw in pain or comes running with a knocked-out tooth, your heart races. Every parent knows that sinking feeling when a dental crisis hits without warning. But here's the truth: knowing what to do in those critical first moments can make the difference between saving a tooth and losing it forever.
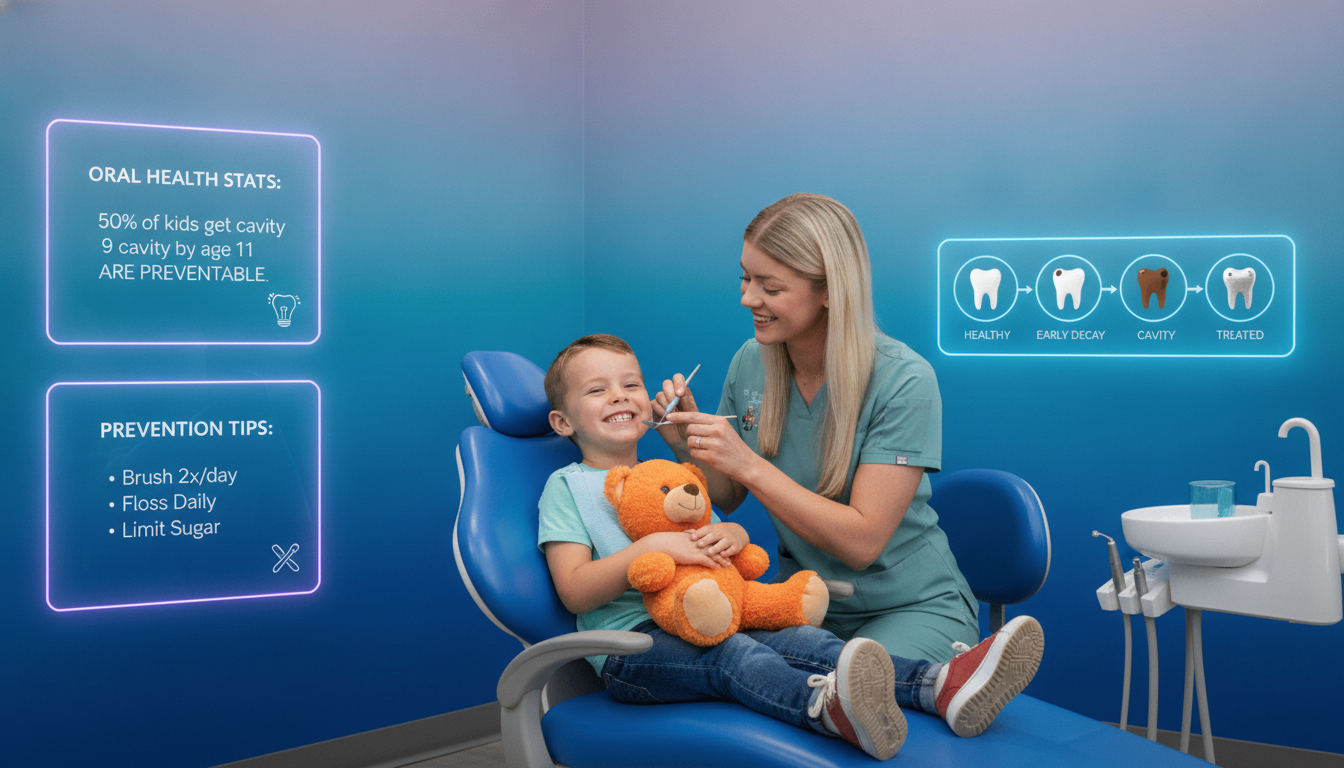
A pediatric dental emergency is any unexpected change in your child's oral health that disrupts their ability to eat, sleep, or go about their normal day. It also includes situations that could cause long-term damage if not treated quickly. These emergencies happen more often than you might think, with studies showing that nearly 25% of children experience some form of dental trauma before they finish high school.
Why Your Pediatric Dentist Is Your Best First Call
When dental trouble strikes, you might wonder whether to call your regular dentist, head to the emergency room, or find a pediatric specialist. Here's what makes pediatric dentists the better choice for your child:
Pediatric dentists complete 2-3 additional years of specialized training beyond dental school. This extra education focuses specifically on:
- Child development and psychology
- Managing anxiety in young patients
- Pediatric anatomy and how growing mouths differ from adult mouths
- Specialized techniques for baby teeth and permanent teeth
- Working with children who have special healthcare needs
At Make Your Kids Smile in Lafayette, our team understands that treating a scared 5-year-old requires a completely different approach than treating an adult. We speak your child's language and create an environment where they feel safe, not scared.
The Critical First Hour: What to Do Right Now
The moments immediately after a dental injury matter more than most parents realize. What you do in the first 30-60 minutes can literally save a tooth.
When a Permanent Tooth Gets Knocked Out
Time is everything here. A knocked-out permanent tooth has the best chance of survival if it gets back in the socket within 30 minutes. After 60 minutes, the chances drop significantly.
Follow these steps immediately:
- Find the tooth and pick it up by the crown (the white part), never touch the root
- If the tooth is dirty, gently rinse it with water but don't scrub or use soap
- Try to place it back in the socket if your child can stay calm enough
- If reinsertion isn't possible, store the tooth in one of these liquids (in order of effectiveness):
- Cold whole milk (the best option most families have at home)
- Saline solution
- Your child's saliva (have them spit in a container)
- Water (only as a last resort)
Never store a tooth in tap water, as this can damage the delicate root cells. The American Academy of Pediatric Dentistry emphasizes that proper storage medium can increase re-implantation success rates by up to 90%.
Important note: Baby teeth that get knocked out should NOT be put back in. Call your pediatric dentist right away, but don't try to reinsert primary teeth because it can damage the permanent tooth developing underneath.
Stopping the Bleeding
Mouth injuries often bleed more than you'd expect because the mouth has many blood vessels. Stay calm and follow these steps:
- Have your child bite down on clean gauze or a moistened tea bag for 15-20 minutes
- Apply steady, firm pressure (tea bags contain tannic acid, which helps blood clot faster)
- Keep your child sitting upright with their head tilted slightly forward
- Apply a cold compress to the outside of the mouth to reduce swelling
If bleeding continues after 20 minutes of constant pressure, head to the emergency room instead of waiting for a dental appointment.
Managing Pain While You Wait
Your child doesn't need to suffer while you arrange emergency care. Age-appropriate doses of over-the-counter pain relievers can help:
Pain relief options:
- Acetaminophen (Tylenol) for children over 2 months
- Ibuprofen (Motrin, Advil) for children over 6 months
- Cold compresses applied to the cheek for 10 minutes on, 10 minutes off
Never apply aspirin directly to the gums or tooth because it can burn the soft tissue. Also avoid giving aspirin to children under 18 due to Reye's syndrome risk.
The Injuries You Can't See
Not every dental emergency is obvious. Your child might fall on the playground and seem fine, but hidden damage could be developing. Watch for these warning signs in the days after any facial injury:
- Changes in tooth color (turning gray, yellow, or dark)
- Increased sensitivity to hot or cold
- Tooth becoming loose or changing position
- Swelling that develops 24-48 hours after the injury
- Reluctance to bite down or chew on one side
Many parents don't realize that even seemingly minor falls from bouncy houses, monkey bars, or bicycles can cause internal damage to developing teeth. According to the Centers for Disease Control and Prevention, unintentional injuries are the leading cause of emergency room visits for children, with facial and dental trauma ranking high on that list.
What Happens at the Emergency Dental Visit
Understanding the procedures your child might need helps reduce everyone's anxiety. Let's walk through the most common emergency treatments pediatric dentists perform.
Fixing Broken or Fractured Teeth
When your child chips or breaks a tooth, the treatment depends on how severe the damage is.
Minor chips: Your dentist can smooth rough edges or use tooth-colored filling material to restore the tooth's shape. This usually takes one visit and requires no numbing.
Moderate fractures: When the break extends into the dentin (the layer under the enamel), your child will need a filling or crown. The dentist will:
- Remove any damaged tooth structure
- Clean and prepare the area
- Place either a composite resin filling or a crown
Crown options for kids:
- Stainless steel crowns (silver colored, very durable, cost-effective)
- Tooth-colored crowns (zirconia or composite, more aesthetic but typically more expensive)
For front teeth, many parents choose tooth-colored options because they blend naturally with other teeth. Back teeth often get stainless steel crowns because they handle chewing forces better.
The "Baby Root Canal" (Pulpotomy)
When decay or trauma reaches the nerve inside a baby tooth, your child might need a pulpotomy. Think of it as a root canal, but less invasive because we're only removing the infected pulp from the crown portion of the tooth.
Here's the process:
- The dentist numbs the area so your child feels no pain
- They remove the decayed portion and infected pulp tissue from the top of the tooth
- They place a special medicated material on the remaining healthy pulp
- The tooth gets filled and usually crowned to protect it
Modern pediatric dentistry uses advanced biomaterials like Mineral Trioxide Aggregate (MTA) or bioactive materials that actually promote healing. These newer materials work faster and more effectively than older formulations like formocresol, reducing healing time from weeks to days in many cases.
Why save a baby tooth instead of just pulling it? Primary teeth do much more than help your child chew. They:
- Hold space for permanent teeth growing underneath
- Help with proper speech development
- Support facial structure and jaw development
- Build confidence through a healthy smile
At Make Your Kids Smile, we believe in preserving natural teeth whenever possible because premature tooth loss can lead to expensive orthodontic problems later.
When Extraction Becomes Necessary
Sometimes a tooth is too damaged to save. Emergency extractions become necessary when:
- The tooth is fractured below the gum line
- Infection has spread beyond what antibiotics can control
- The tooth is blocking a permanent tooth from coming in properly
- Severe trauma has destroyed the tooth's supporting structures
After extracting a baby tooth early, your dentist might recommend a space maintainer. This simple device keeps the gap open so the permanent tooth has room to erupt in the correct position. Think of it as a placeholder that prevents neighboring teeth from drifting into the empty space.
Space maintainers come in two types:
- Fixed (cemented in place, your child can't remove it)
- Removable (looks like a small retainer)
Most pediatric dentists prefer fixed space maintainers for young children because there's nothing to lose or forget to wear.
Laser Treatment for Soft Tissue Problems
Some emergencies involve the soft tissues in your mouth rather than teeth. Tongue-ties (ankyloglossia) or lip-ties can cause:
- Difficulty breastfeeding in infants
- Speech problems as kids get older
- Gaps between front teeth
- Discomfort when moving the tongue or lips
Pediatric dentists can perform laser frenectomies to release these tight tissues. The laser procedure:
- Takes only 10-15 minutes
- Causes minimal bleeding
- Heals faster than traditional surgical methods
- Often requires no stitches
Many children return to normal activities the same day, though you'll need to avoid certain foods for a few days while the area heals.
Keeping Your Child Comfortable During Treatment
One of the biggest concerns parents have is whether their child will feel pain or be scared during emergency procedures. Pediatric dentists have several tools to make sure your child stays comfortable and calm.
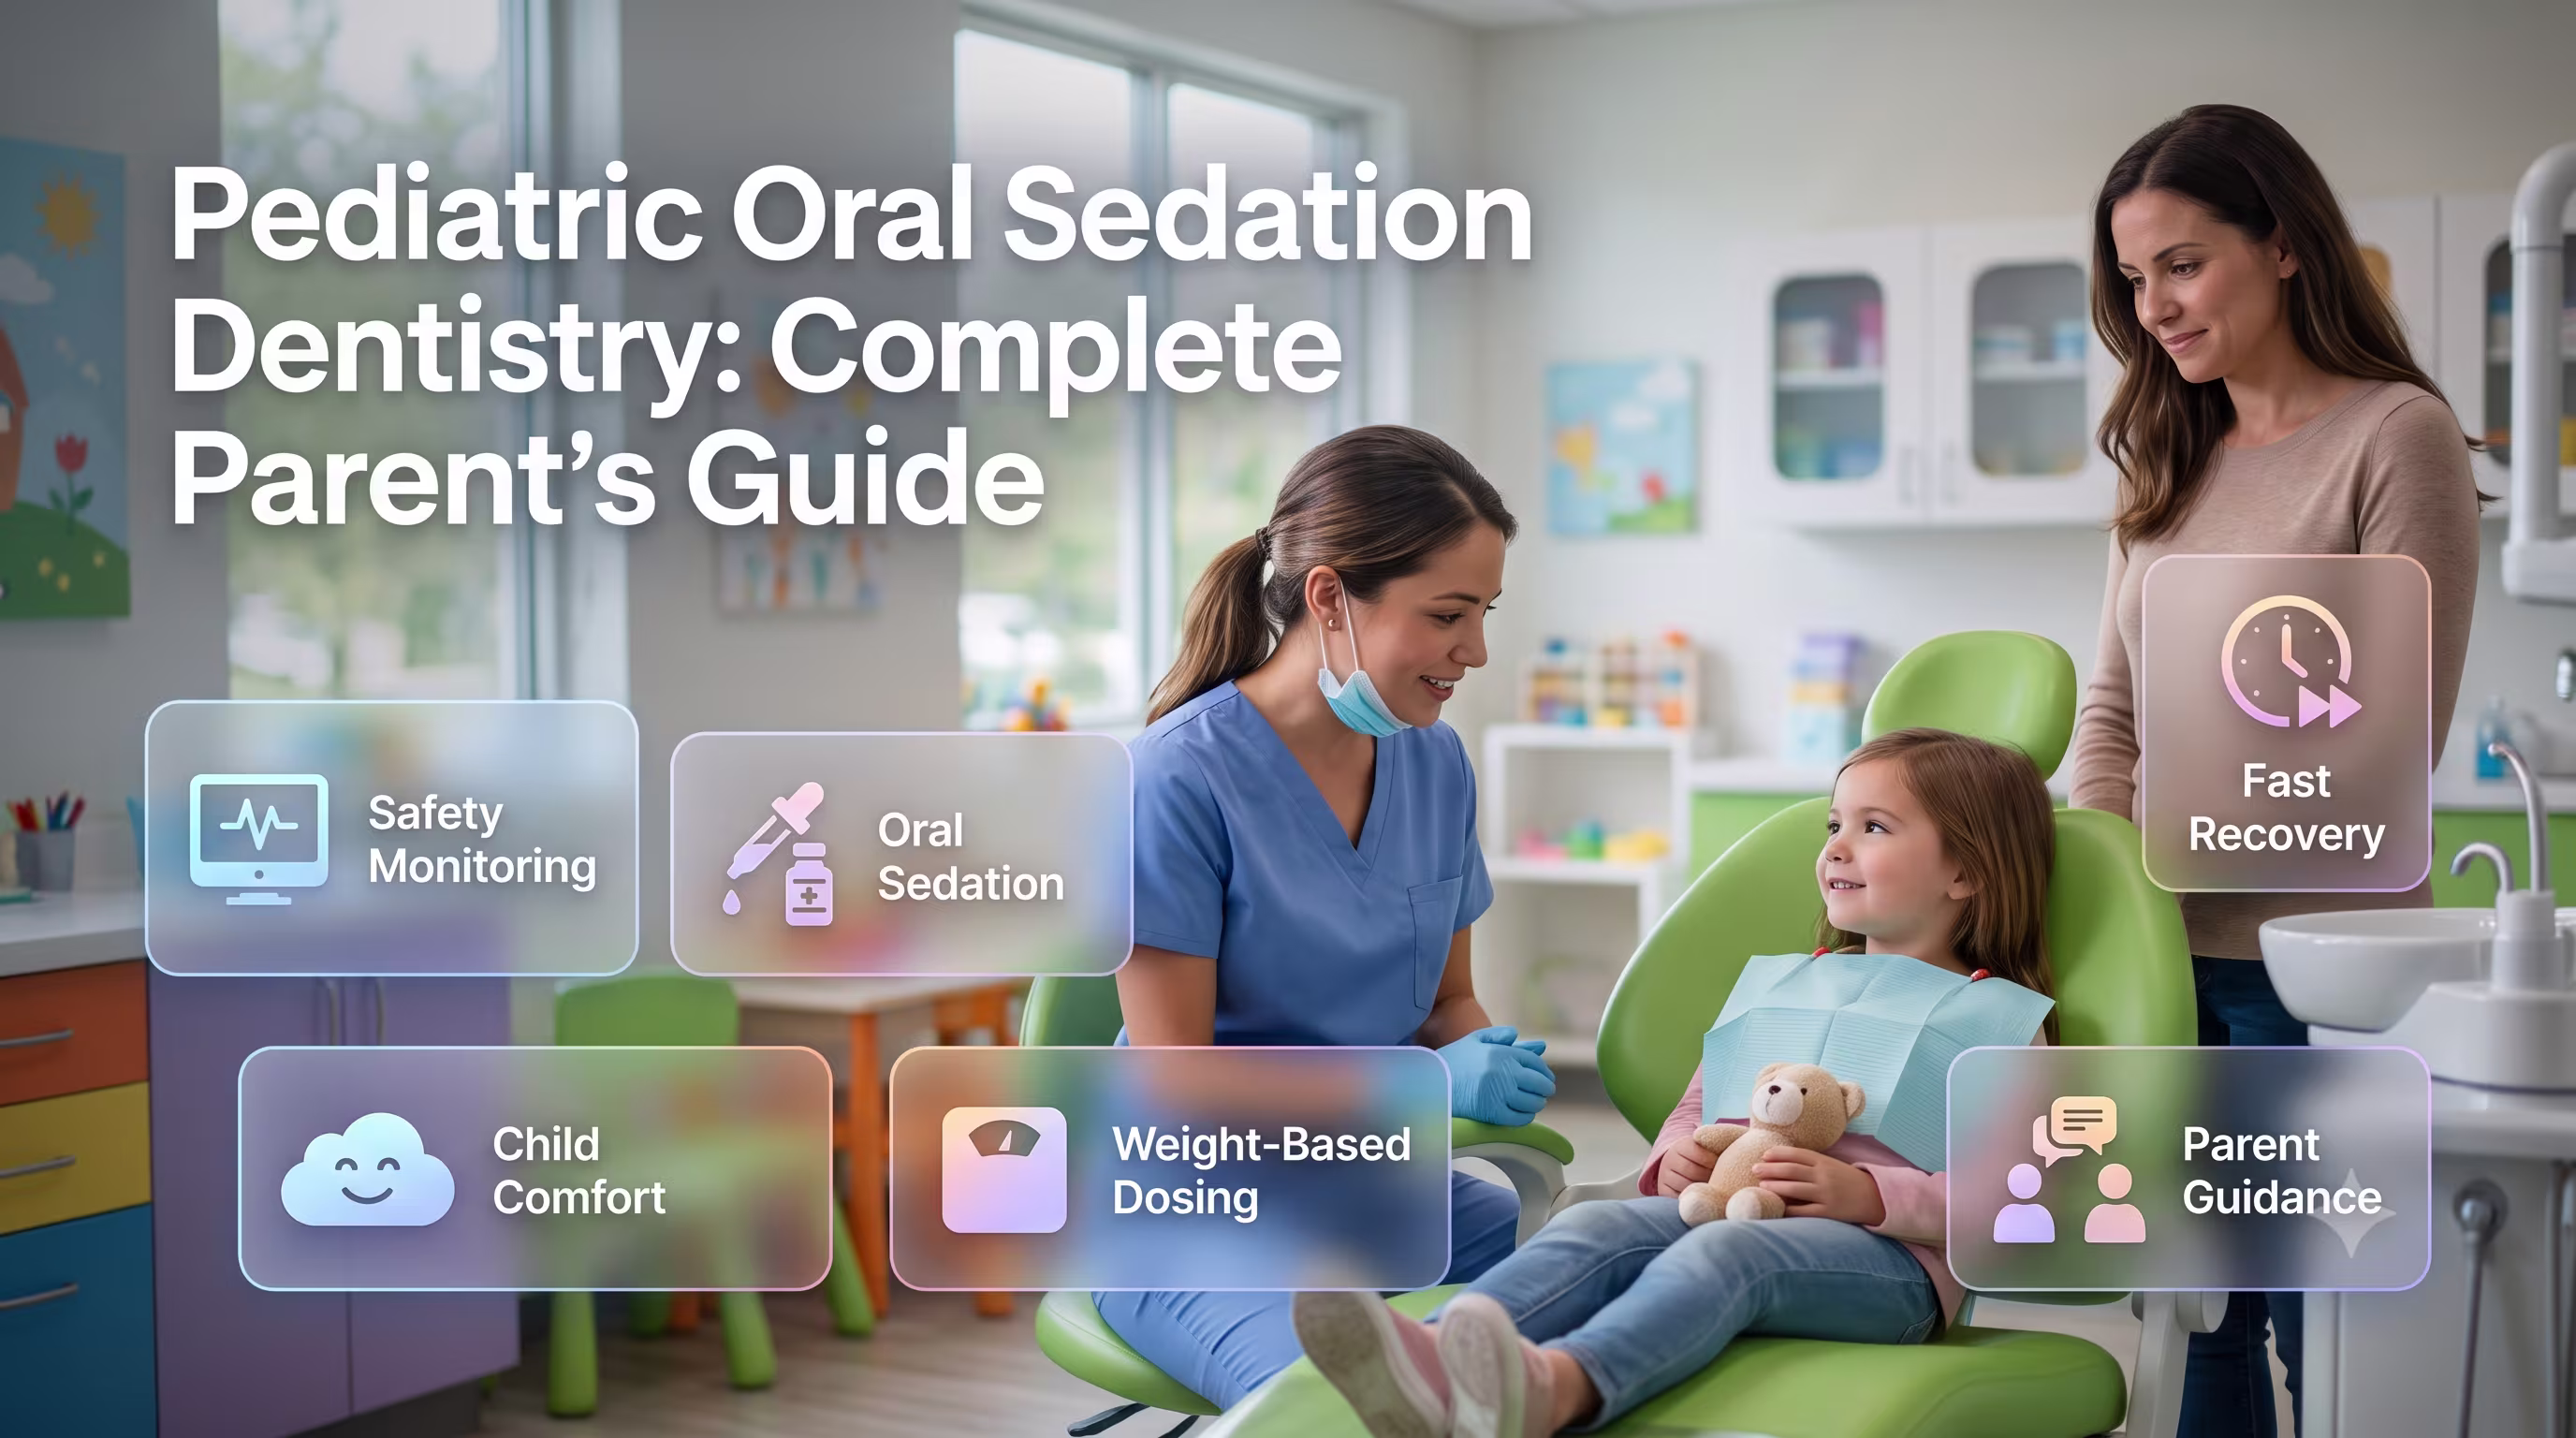
Sedation Options Explained
Different levels of sedation work for different situations. Your dentist will recommend the right option based on:
- Your child's age and anxiety level
- The complexity of the procedure
- How long the treatment will take
- Your child's medical history
Nitrous oxide (laughing gas):
- Mild sedation that helps kids relax while staying awake and responsive
- Breathed in through a small mask that fits over the nose
- Takes effect within 3-5 minutes
- Wears off completely within 5-10 minutes after the mask is removed
- Your child can eat normally before the appointment
- Safe for most children over age 3
Oral conscious sedation:
- Medication given by mouth 30-60 minutes before the procedure
- Makes children drowsy and relaxed but still able to respond
- Effects last 2-4 hours
- Requires fasting for 6 hours before the appointment
- Your child will need supervision for the rest of the day
IV or general anesthesia:
- Used for very young children, extensive dental work, or children with special needs
- Your child sleeps through the entire procedure
- Requires strict fasting guidelines
- Performed with an anesthesiologist or nurse anesthetist present
- Recovery takes a few hours in our office before going home
The American Academy of Pediatric Dentistry maintains strict safety guidelines for sedation. All pediatric dental offices that offer sedation must have emergency equipment and staff trained in pediatric advanced life support.
Behavior Guidance Techniques
Even without sedation, pediatric dentists use special techniques to help anxious children feel safe. The "Tell-Show-Do" method breaks procedures into simple steps:
- Tell: Explain what will happen using kid-friendly words
- Show: Demonstrate using models or let them see/touch instruments
- Do: Perform the procedure with reassurance throughout
We avoid scary dental jargon. Instead of "needle," we say "sleepy juice." The "water squirter" is much less frightening than "drill." These small language changes make a huge difference in how children perceive treatment.
Special Accommodations for Children with Sensory Needs
Children with autism, ADHD, sensory processing disorders, or other special needs might need extra support during dental emergencies. Many pediatric dental practices now offer:
- Weighted blankets for deep pressure comfort
- Noise-canceling headphones to reduce overwhelming sounds
- Dimmed lighting to decrease sensory input
- Visual schedules showing each step of the appointment
- Longer appointment times to allow for breaks
- Desensitization visits before actual treatment
At our Lafayette practice, we believe every child deserves compassionate dental care tailored to their unique needs. If your child has special requirements, let us know when you call so we can prepare the right environment.
Should You Go to the Dentist or Emergency Room?
This question causes confusion for many parents. Here's a simple guide to help you decide quickly.
Call Your Pediatric Dentist For:
- Knocked-out permanent teeth (call immediately, this is a true dental emergency)
- Severe toothaches that prevent eating or sleeping
- Broken or cracked teeth
- Lost fillings or crowns
- Dental abscesses (pimple-like bumps on the gums)
- Objects stuck between teeth that flossing won't remove
- Injuries to baby teeth
Most pediatric dental offices have emergency phone numbers that connect you to an on-call dentist after hours and on weekends. At Make Your Kids Smile, we provide emergency contact information to all our families.
Go to the Emergency Room For:
- Uncontrolled bleeding that won't stop after 15-20 minutes of firm pressure
- Difficulty breathing or swallowing
- Suspected jaw fracture (severe pain, inability to open or close mouth normally)
- Facial swelling that closes one or both eyes
- Deep cuts to the lips, tongue, or face that might need stitches
- Trauma to the head or loss of consciousness
Emergency rooms have the equipment and specialists to handle life-threatening situations, but they typically cannot provide definitive dental treatment. The ER doctor will stabilize your child and prescribe pain medication or antibiotics, then refer you to a dentist for the actual dental work.
A 2019 study published in the Journal of Public Health Dentistry found that about 2 million emergency room visits each year involve dental problems, costing around $2 billion annually. Many of these visits could be handled more effectively and affordably by dentists rather than ER physicians who lack dental training and equipment.
Understanding the Financial Side of Emergency Dental Care
Dental emergencies create unexpected expenses that catch families off guard. Knowing what to expect helps you plan and ask the right questions about coverage.
How Emergency Dental Billing Works
Emergency dental visits use different billing codes than routine checkups. You'll typically see charges for:
Emergency exam (D0140): This covers the dentist's time evaluating the problem, taking necessary x-rays, and creating a treatment plan. Emergency exams cost more than routine exams because they're unscheduled and often happen outside regular hours.
Diagnostic x-rays: The specific type and number depend on what the dentist needs to see. A single tooth x-ray (periapical) costs less than a full mouth series.
Treatment procedures: The actual work done to fix the problem (filling, crown, extraction, etc.) gets billed separately from the exam.
After-Hours and Weekend Fees
Many pediatric dental offices charge additional fees for emergency appointments outside normal business hours. These surcharges typically range from $50 to $200 and cover:
- Staff overtime pay
- Opening the office specifically for your appointment
- Disrupting personal time for emergency availability
Not all practices charge these fees, so ask when you call. Even with a surcharge, seeing a dentist after hours usually costs less than an emergency room visit.
What Does Insurance Cover?
Dental insurance plans vary widely in emergency coverage. Most plans distinguish between:
Emergency stabilizing treatment: Immediate care to relieve pain and prevent further damage. Most insurance plans cover at least part of this.
Definitive restorative work: The permanent fix that might happen at a follow-up appointment. Coverage depends on your specific plan's annual maximums and procedure limitations.
Before your appointment, call your insurance company and ask:
- What percentage do they cover for emergency exams?
- Is there a separate deductible for emergency services?
- Do they cover the full cost of x-rays taken during emergencies?
- What are the coverage rates for crowns, extractions, or root canals?
- Will they require pre-authorization for any procedures?
Some plans impose waiting periods for major procedures like crowns. If your child needs a crown but you just got insurance, you might have to wait 6-12 months for coverage or pay out of pocket.
Payment Options When Insurance Isn't Enough
Even with good insurance, families sometimes face unexpected costs. Many pediatric dental offices offer:
- Payment plans that let you spread costs over several months
- Third-party financing through companies like CareCredit
- Discounts for paying in full at the time of service
- Sliding fee scales based on income (community health centers often provide this)
Never let cost concerns prevent you from seeking emergency care for your child. Delaying treatment usually makes problems worse and more expensive in the long run. A small cavity that could have been filled for $150 can turn into an infected tooth requiring extraction, space maintainer, and eventual orthodontic work costing thousands.
Recovery and Healing: The First 48 Hours and Beyond
The procedure is complete, but your job as a parent isn't finished. How you manage the next few days significantly affects healing and your child's long-term dental health.
Nutrition During Recovery
Your child's mouth will be tender after emergency dental work. They need to eat enough to maintain energy and support healing, but regular foods might be too painful.
Best soft food options for the first 48 hours:
- Smoothies with protein powder, yogurt, and fruit (avoid using straws if there was an extraction)
- Scrambled eggs or egg salad
- Mashed potatoes or sweet potatoes with butter
- Oatmeal or cream of wheat
- Pasta with butter or soft cheese
- Applesauce or mashed bananas
- Pudding, yogurt, or cottage cheese
- Soft cooked vegetables like squash or carrots
- Soup (let it cool to room temperature)
Avoid these foods until healing is complete:
- Crunchy items (chips, raw vegetables, hard crackers)
- Sticky foods (caramel, taffy, gummy candies)
- Very hot foods that could irritate sensitive tissues
- Acidic foods (citrus, tomato sauce) that might sting
- Spicy seasonings
If your child had sedation, start with clear liquids (water, apple juice, popsicles) and gradually progress to regular foods as they tolerate them.
Managing Post-Procedure Discomfort
Some pain and swelling after dental procedures is normal. Here's what to expect and how to manage it:
Days 1-2: Peak discomfort and swelling. Continue over-the-counter pain relievers as directed by your dentist. Apply cold compresses for 10 minutes on, 10 minutes off while awake.
Days 3-5: Symptoms should improve noticeably. If pain gets worse instead of better, call your dentist because it might indicate an infection or other complication.
Week 1-2: Most children feel back to normal. Follow any special care instructions about brushing around treated areas.
Your dentist might prescribe antibiotics if there was an infection. Make sure your child takes the entire course even if they feel better after a few days.
Preventing Long-Term Dental Anxiety
A traumatic dental experience can create anxiety that lasts for years or even a lifetime. Research shows that up to 20% of adults avoid dental care due to fear that often started in childhood.
Help your child process the experience positively:
- Never use dental visits as a threat or punishment ("If you don't brush, you'll need more shots!")
- Praise their bravery without making a huge production out of it
- Stick to regular dental checkups so they learn that most visits are quick and easy
- Read age-appropriate books about dental visits
- Let them "play dentist" with stuffed animals to work through their feelings
If your child shows signs of significant anxiety (nightmares, refusing to brush teeth, extreme reactions when discussing the dentist), talk to your pediatric dentist or your child's pediatrician. Some children benefit from a few sessions with a child psychologist who specializes in medical anxiety.
Complementary Comfort Measures
Some families find that gentle, natural approaches help their child feel more comfortable during recovery. Always talk to your dentist before trying new remedies, but these are generally considered safe:
Acupressure: Gentle pressure on specific points might help with pain and nausea. The LI-4 point (the webbing between thumb and first finger) is thought to relieve pain.
Child-safe essential oils: Lavender oil (properly diluted and never ingested) might promote calmness. Never apply essential oils directly to a child's skin or inside the mouth without professional guidance.
Distraction techniques: Let your child choose a special movie, game, or activity during recovery. Positive distractions help take their mind off discomfort.
These approaches should complement, not replace, medical care and medication prescribed by your dentist.
Your Emergency Preparedness Checklist
The best time to prepare for an emergency is before one happens. Put together a simple dental emergency kit that you keep at home and another smaller version for your car or diaper bag.
What to Include in Your Dental Emergency Kit:
Essential items:
- Small container with a lid (for storing a knocked-out tooth)
- Sterile gauze pads
- Small bottle of saline solution
- Cold pack or ice pack
- Over-the-counter pain relievers appropriate for your child's age
- Your pediatric dentist's emergency phone number
- Your dental insurance card information
- List of any medications or allergies your child has
Optional additions:
- Temporary dental cement (available at pharmacies)
- Dental wax for covering sharp edges of broken braces or appliances
- Small flashlight for looking in the mouth
- Clean cloth or small towel
Store everything in a labeled zip-top bag or small container that everyone in your family can find quickly. Update it twice a year when you change your smoke detector batteries.
Program These Numbers in Your Phone Now:
- Your pediatric dentist's office number
- Your pediatric dentist's after-hours emergency line
- The nearest hospital emergency room
- Your child's pediatrician
- Poison control (1-800-222-1222)
In an actual emergency, you won't want to waste time searching for contact information.
Practice Makes Prepared
Talk to your children about what to do if they hurt their mouth or teeth:
- Tell a grown-up immediately
- Don't panic
- Hold the tooth by the white part (crown) if it falls out
- Apply pressure if bleeding
Kids as young as 5 or 6 can learn these basic steps. The more they know, the calmer they'll stay during an actual emergency.
Taking Control When Dental Emergencies Strike
No parent wants to face a dental emergency, but they happen. The difference between panic and confidence comes down to preparation and knowledge. You now understand:
- Which situations require immediate action and which can wait until morning
- How to preserve a knocked-out tooth and manage pain at home
- What procedures your child might need and why each one matters
- How to choose between the dentist and emergency room
- What financial questions to ask about emergency care
- How to support your child's physical and emotional recovery
At Make Your Kids Smile, we're here for Lafayette families 24/7 when dental emergencies happen. Our pediatric specialists combine advanced training with genuine compassion, treating your child like they'd treat their own.
Remember that acting quickly saves teeth, reduces pain, and prevents complications that could affect your child for years to come. Your calm, informed response in those critical first moments makes all the difference. Keep this guide handy, assemble your emergency kit, and rest easier knowing you're ready to protect your child's healthy, beautiful smile no matter what happens.
.png)